


Oral care is something that most of us are reasonably confident about when it comes to brushing and flossing the front of our teeth. But when you get to the back of your mouth – the molars – it gets a bit tricky. Those annoying corners at the back are most likely to be neglected, but they also happen to be the places where food particles and plaque build up the fastest.

Flossing your back molars properly may feel like a challenge, but with the right technique (and tools), it becomes much easier. In this guide, we’ll cover why flossing back molars matters, common mistakes to avoid, and step-by-step methods to get the job done like a pro.
Why Back Molars Are Hard to Floss
Your back molars are bigger, harder to spot, and harder to access than front teeth. Their wide chewing surfaces contain deep grooves that trap food pieces, and the tight spacing between molars provides a perfect opportunity for plaque buildup.
Because they lie in the direction of the back of your mouth, they are more challenging to floss and need more dexterity, time, and precision angle.
Why Is Flossing Back Molars So Important?
Brushing by itself cleans only around 60% of your tooth surfaces. The remaining 40% - particularly the areas between your teeth – can be cleaned only through flossing or an interdental cleaner. Flossing is particularly necessary for molars because:
- Food tends to get trapped easily owing to its huge surface area.
- At the back of your mouth, where there is less saliva flow, plaque hardens more quickly.
- Molar cavities are more difficult to treat since fillings and crowns in those areas tend to be more complicated.
- Gum disease often appears in the molar region, since it's so easy to forget when brushing every day.
Brushing can't access those tight spaces between your back teeth. That's why flossing is necessary.
Challenges of Flossing Back Molars
Front teeth are easy to floss. But molars? It is a bit harder. Here's why:
- Tight space in the back of your mouth
- Sensitivity to the gag reflex
- Difficulty maneuvering the floss without cutting the gums
The trick is the right technique and tools—and that's what we'll dive into next.
How to Floss Back Molars
This is a step-by-step guide on how to floss your back molars:
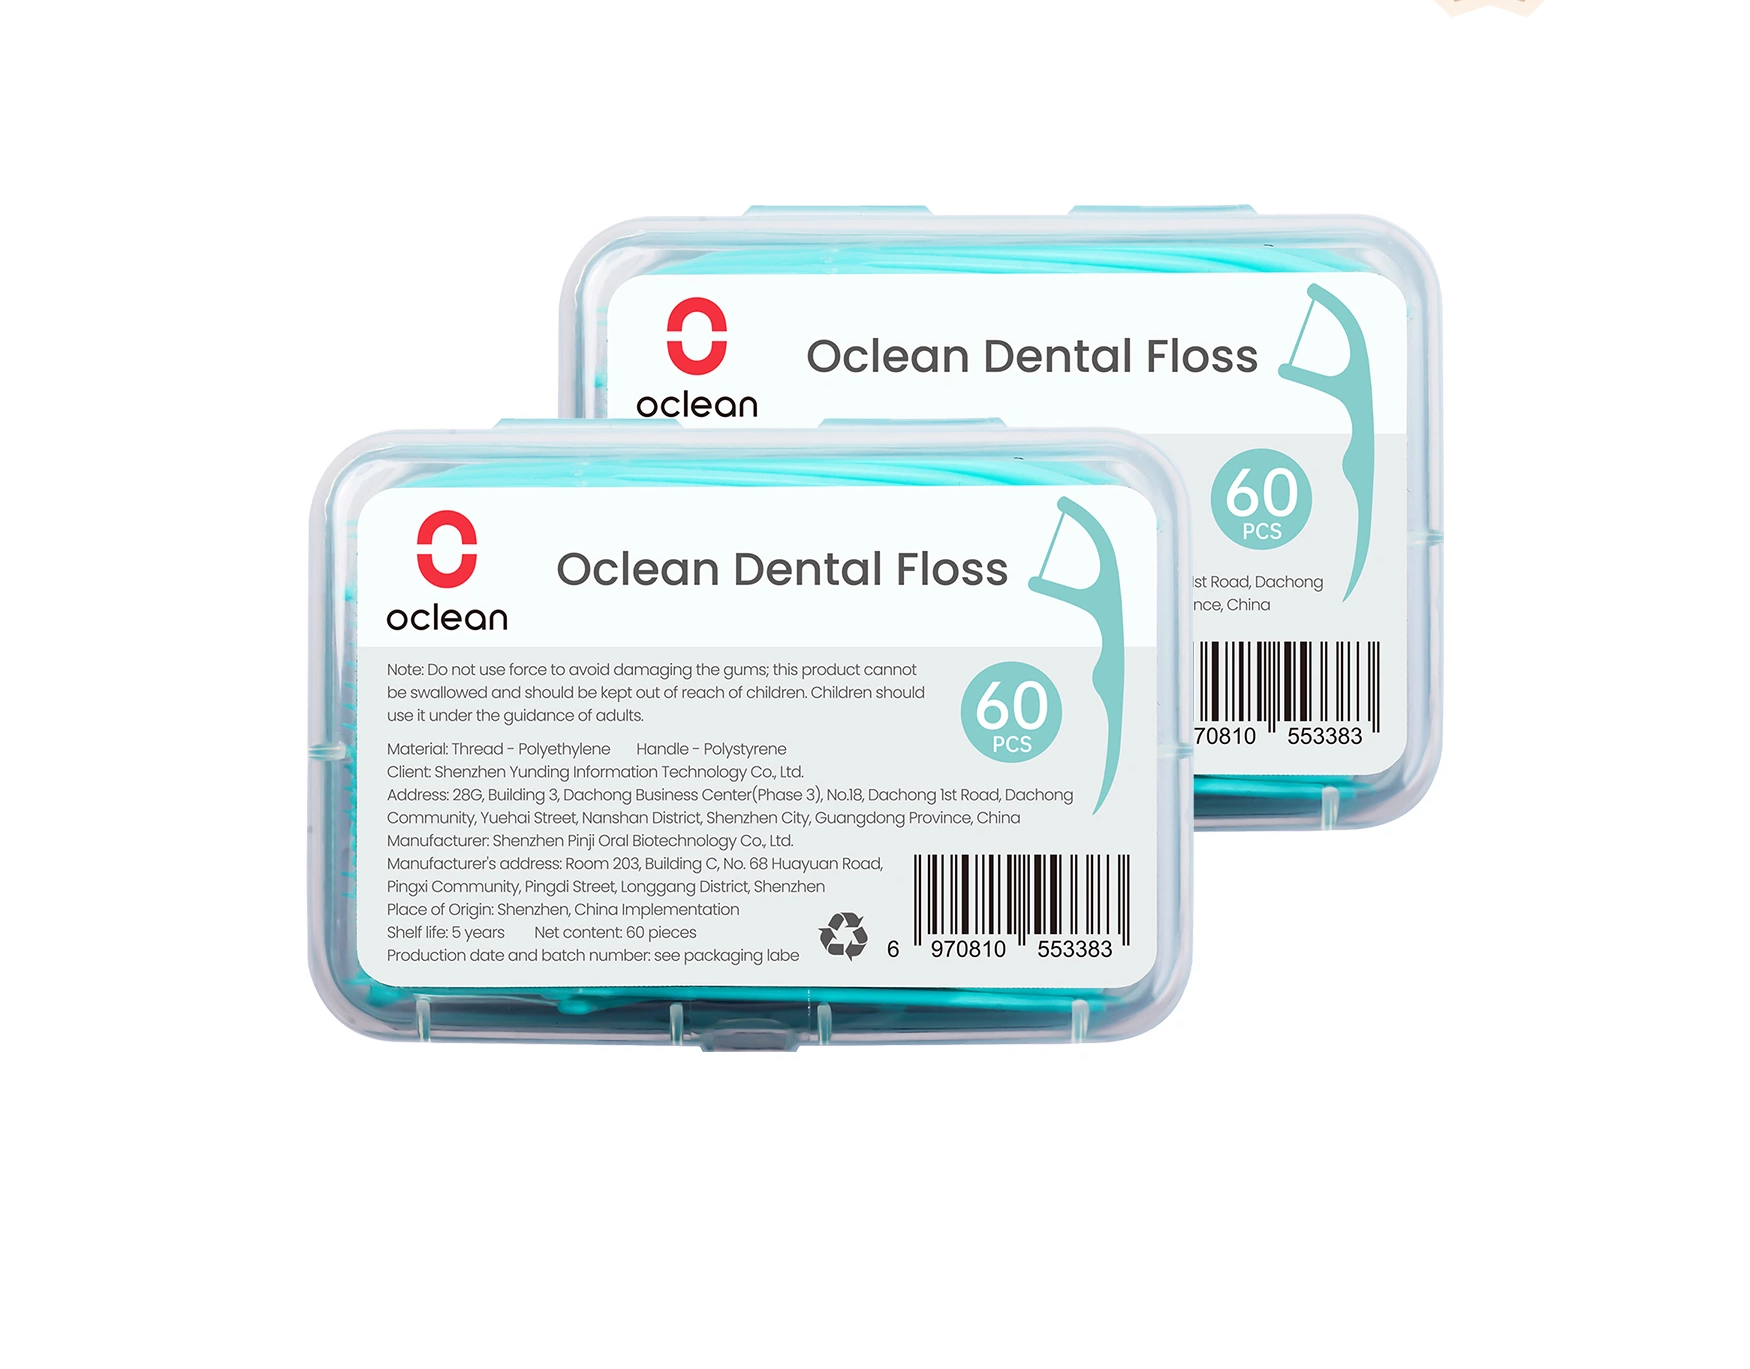
Step 1: Choose the right floss
What type of floss you use is important. General options are waxed floss and unwaxed floss.
Step 2: Get the Right Length of Floss
Cut 18–24 inches of floss. This allows sufficient length to wind around your fingers and have some excess pieces to use on every tooth.
Step 3: Correct Finger Wrap
- Wrap the majority of the floss around the middle finger of one hand.
- Leave a little bit on the other hand's middle finger to collect used floss.
- Hold the floss firmly with index fingers and thumbs for support.
Step 4: Insert Gently Between Teeth
- Let the floss slide slowly between molars with a gentle sawing action.
- Don't snap the floss – it might hurt gums.
Step 5: Make a "C" Shape
Once you have placed the floss between two teeth:
- Bend it around the back of the back molar, forming a C.
- Rock the floss back and forth against the tooth surface and under the gumline.
- Repeat on the next tooth.
Step 6: Repeat All the Way to the Very Last Tooth
- The hardest one is the back molar.
- Angle the floss slightly to go behind the tooth.
- Go slowly and gently, so that you don’t irritate the gum.
Step 7: Repeat for Each Gap
Please, use a fresh piece of floss for each set of teeth, so as not to spread bacteria.
Things to Avoid Doing
- Rushing the flossing: Proper flossing takes a couple of minutes.
- Missing the last molar: All surfaces of all teeth must be touched.
- Using the same section of floss: This spreads bacteria around instead of removing them.
- Snapping floss into gums: This can cause pain and bleeding.
- Flossing only before visiting the dentist: Daily flossing is better — consistency is key.
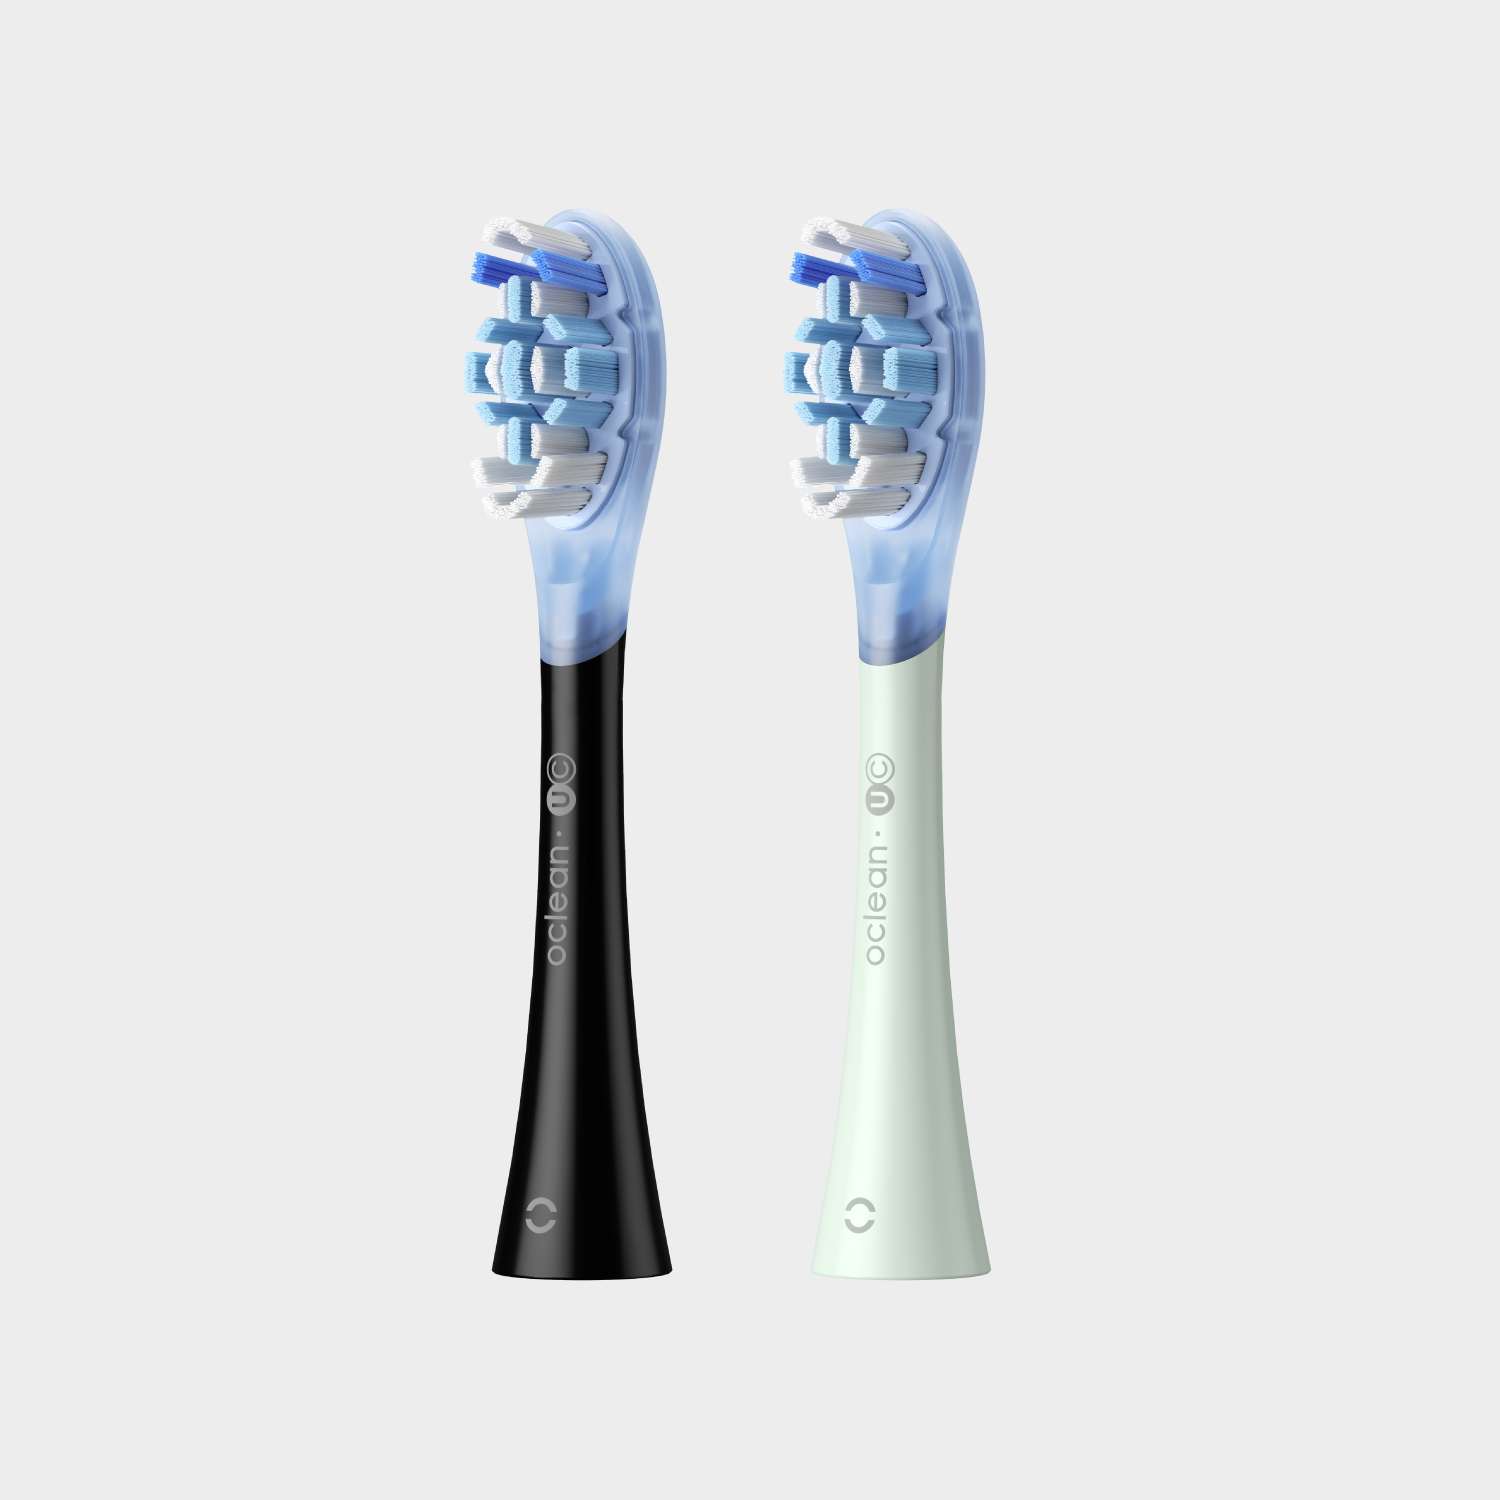
Alternatives to Conventional Flossing
If traditional floss feels impossible, you’re not alone. Here are some alternatives that can make the process easier:
- Floss picks: Little handles with a string of floss on them – great for tight spaces.
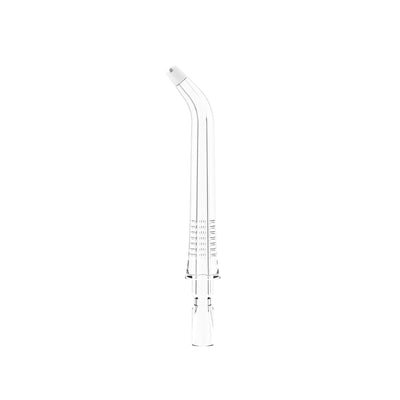
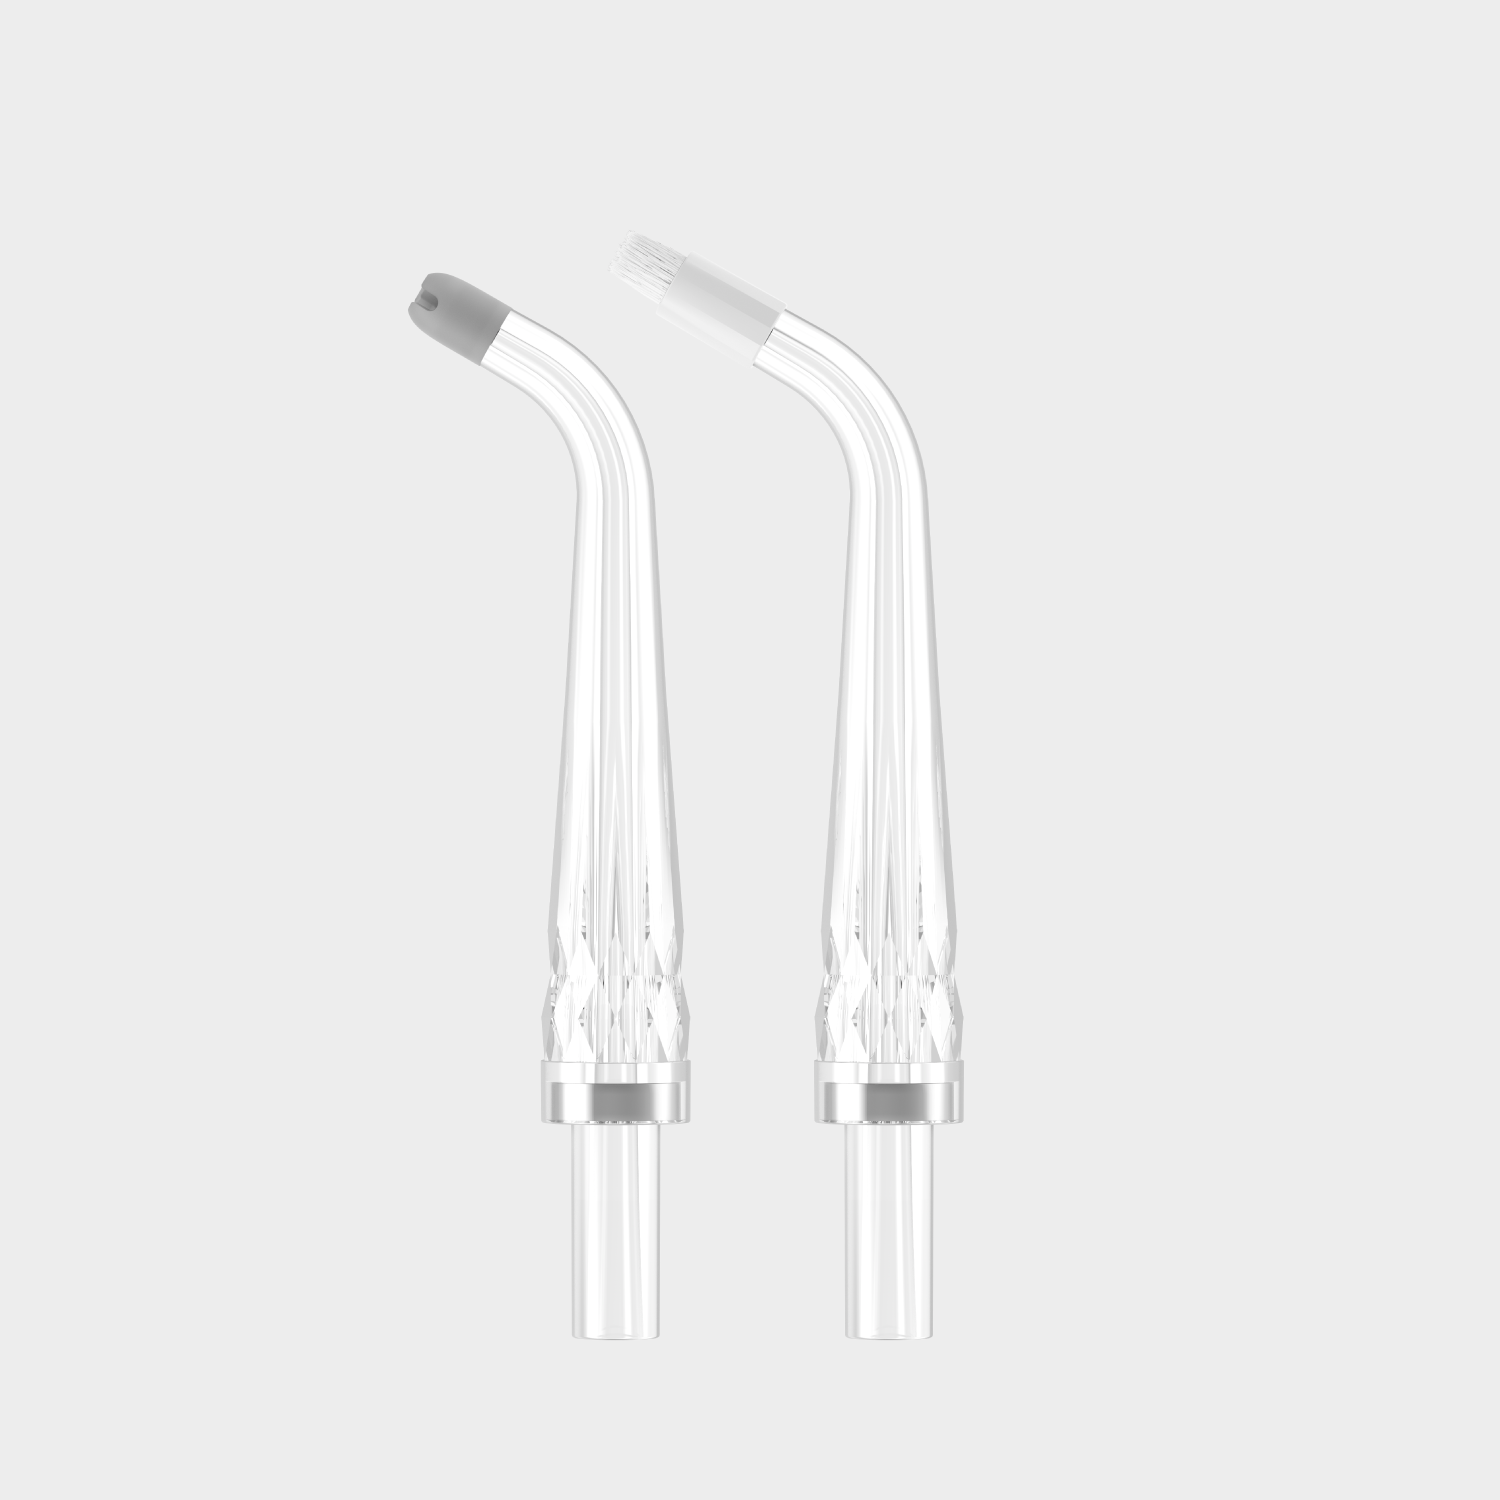
- Water flossers: Water jet systems that clean between molars and teeth very gently with minimal effort.
- Interdental brushes: Little brushes for large spaces or under braces.
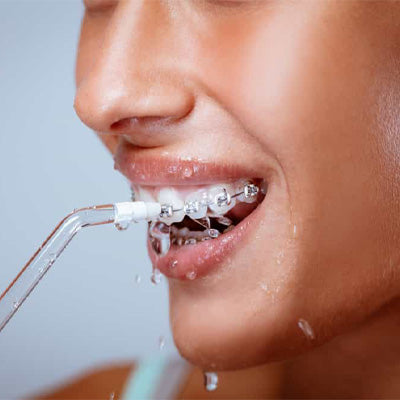
Why consider a water flosser?
- Gentle on gums
- Easy to reach molars without awkward angles
- Great for people with braces or dental work
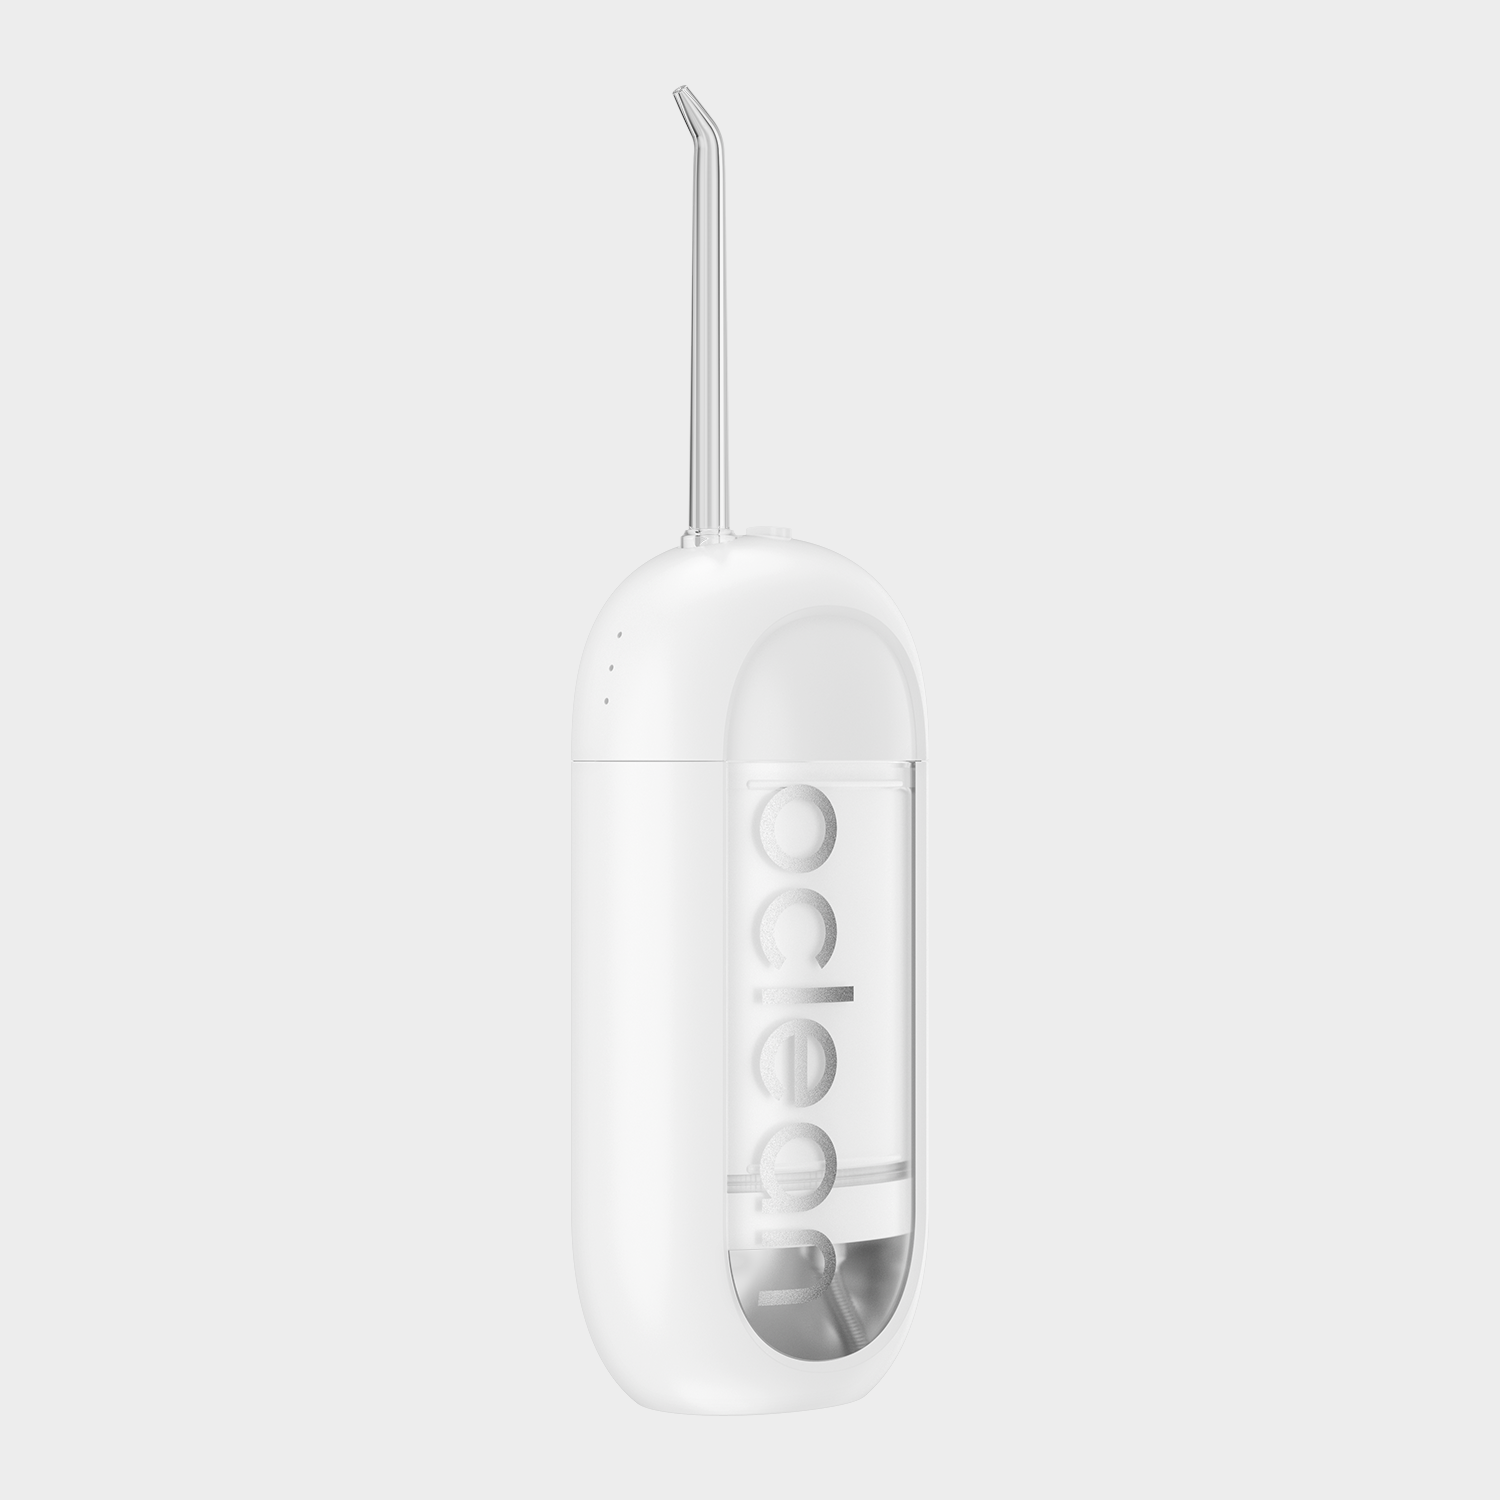
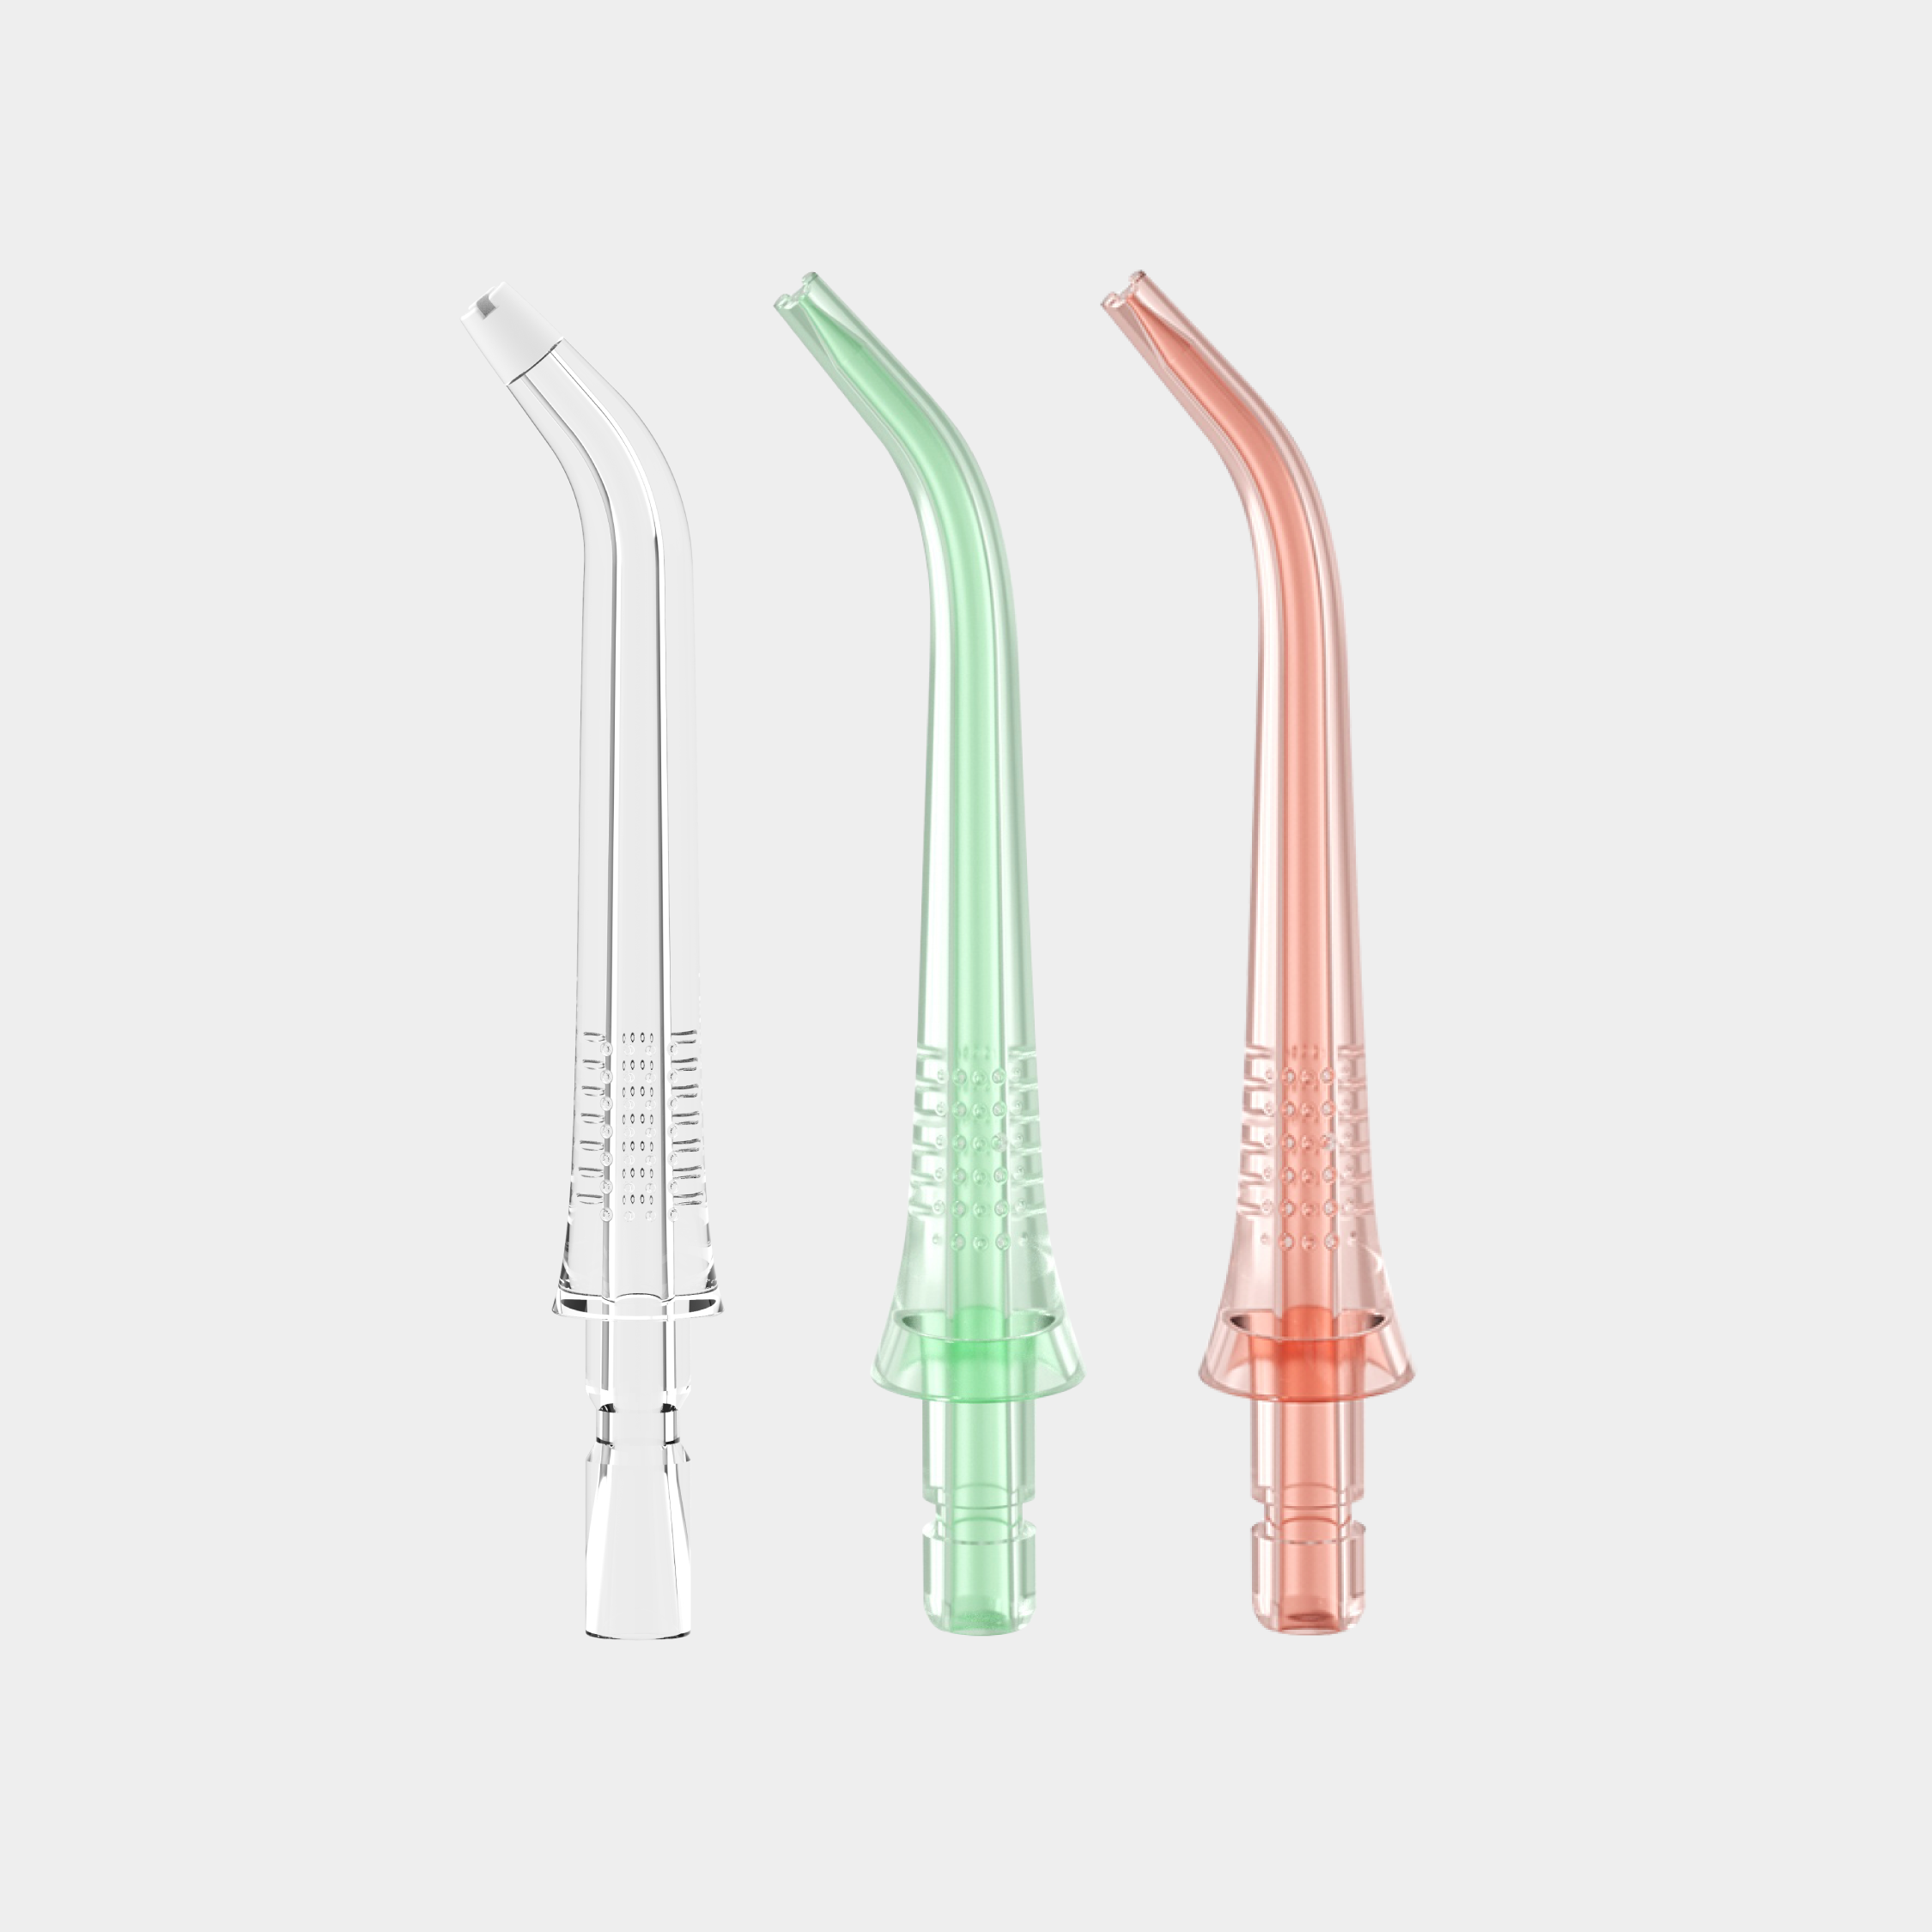
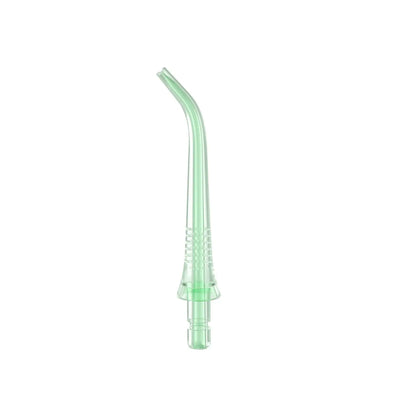
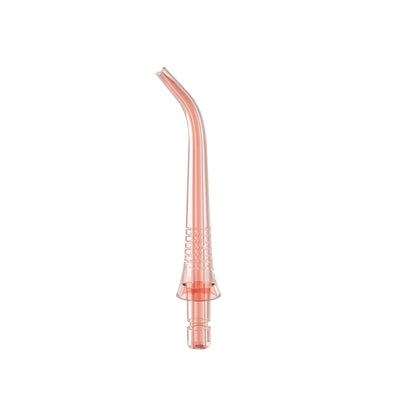
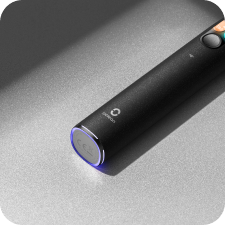
Water Flossers Make It Easier to Reach Back Molars
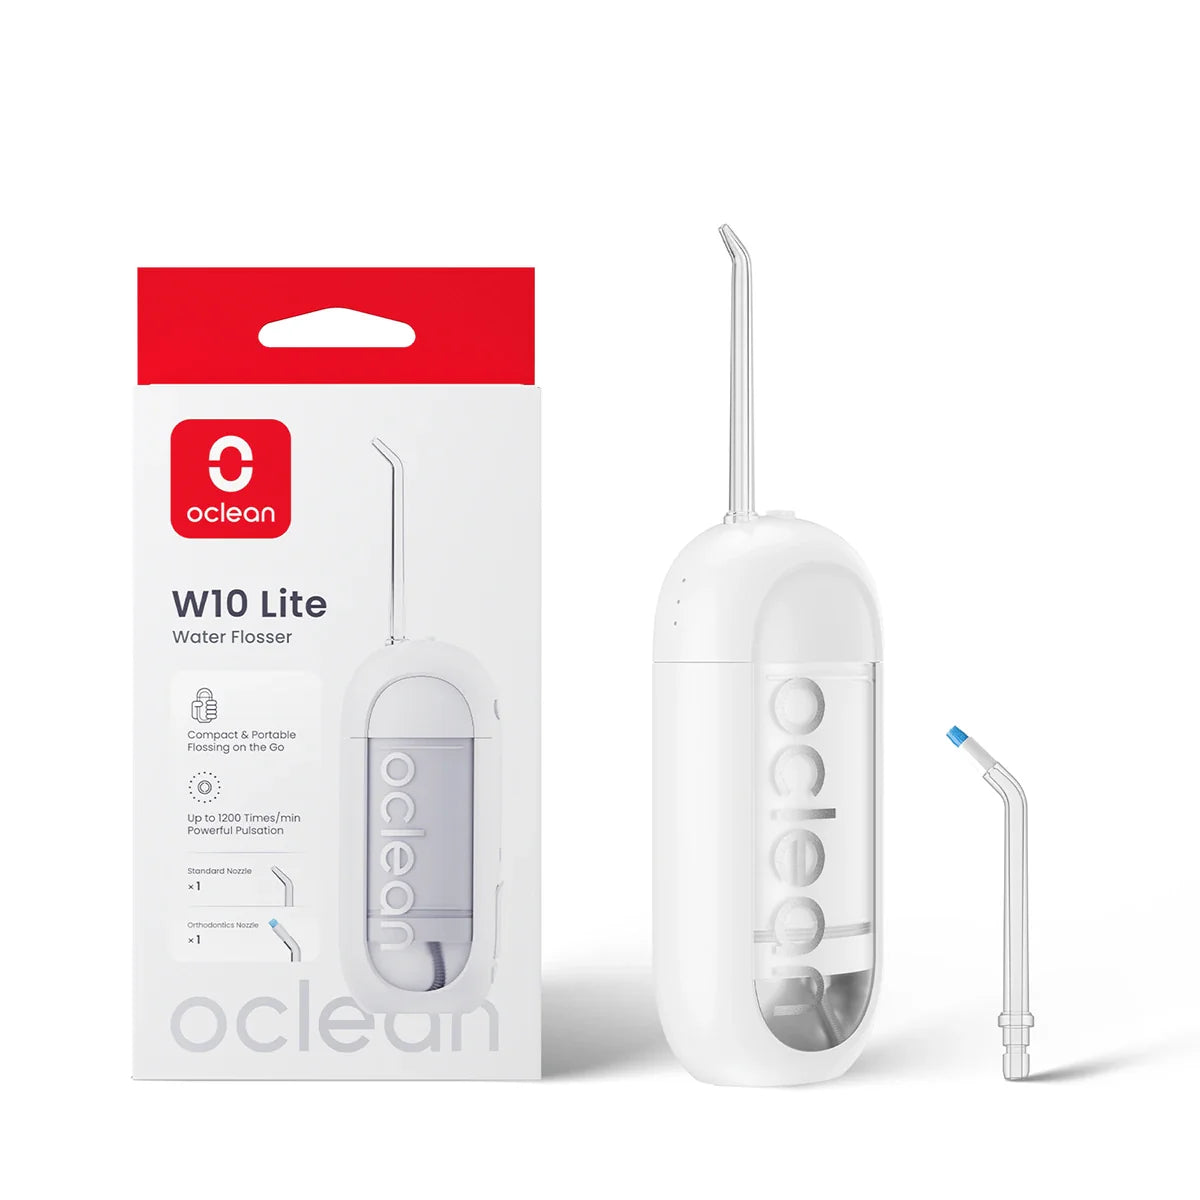
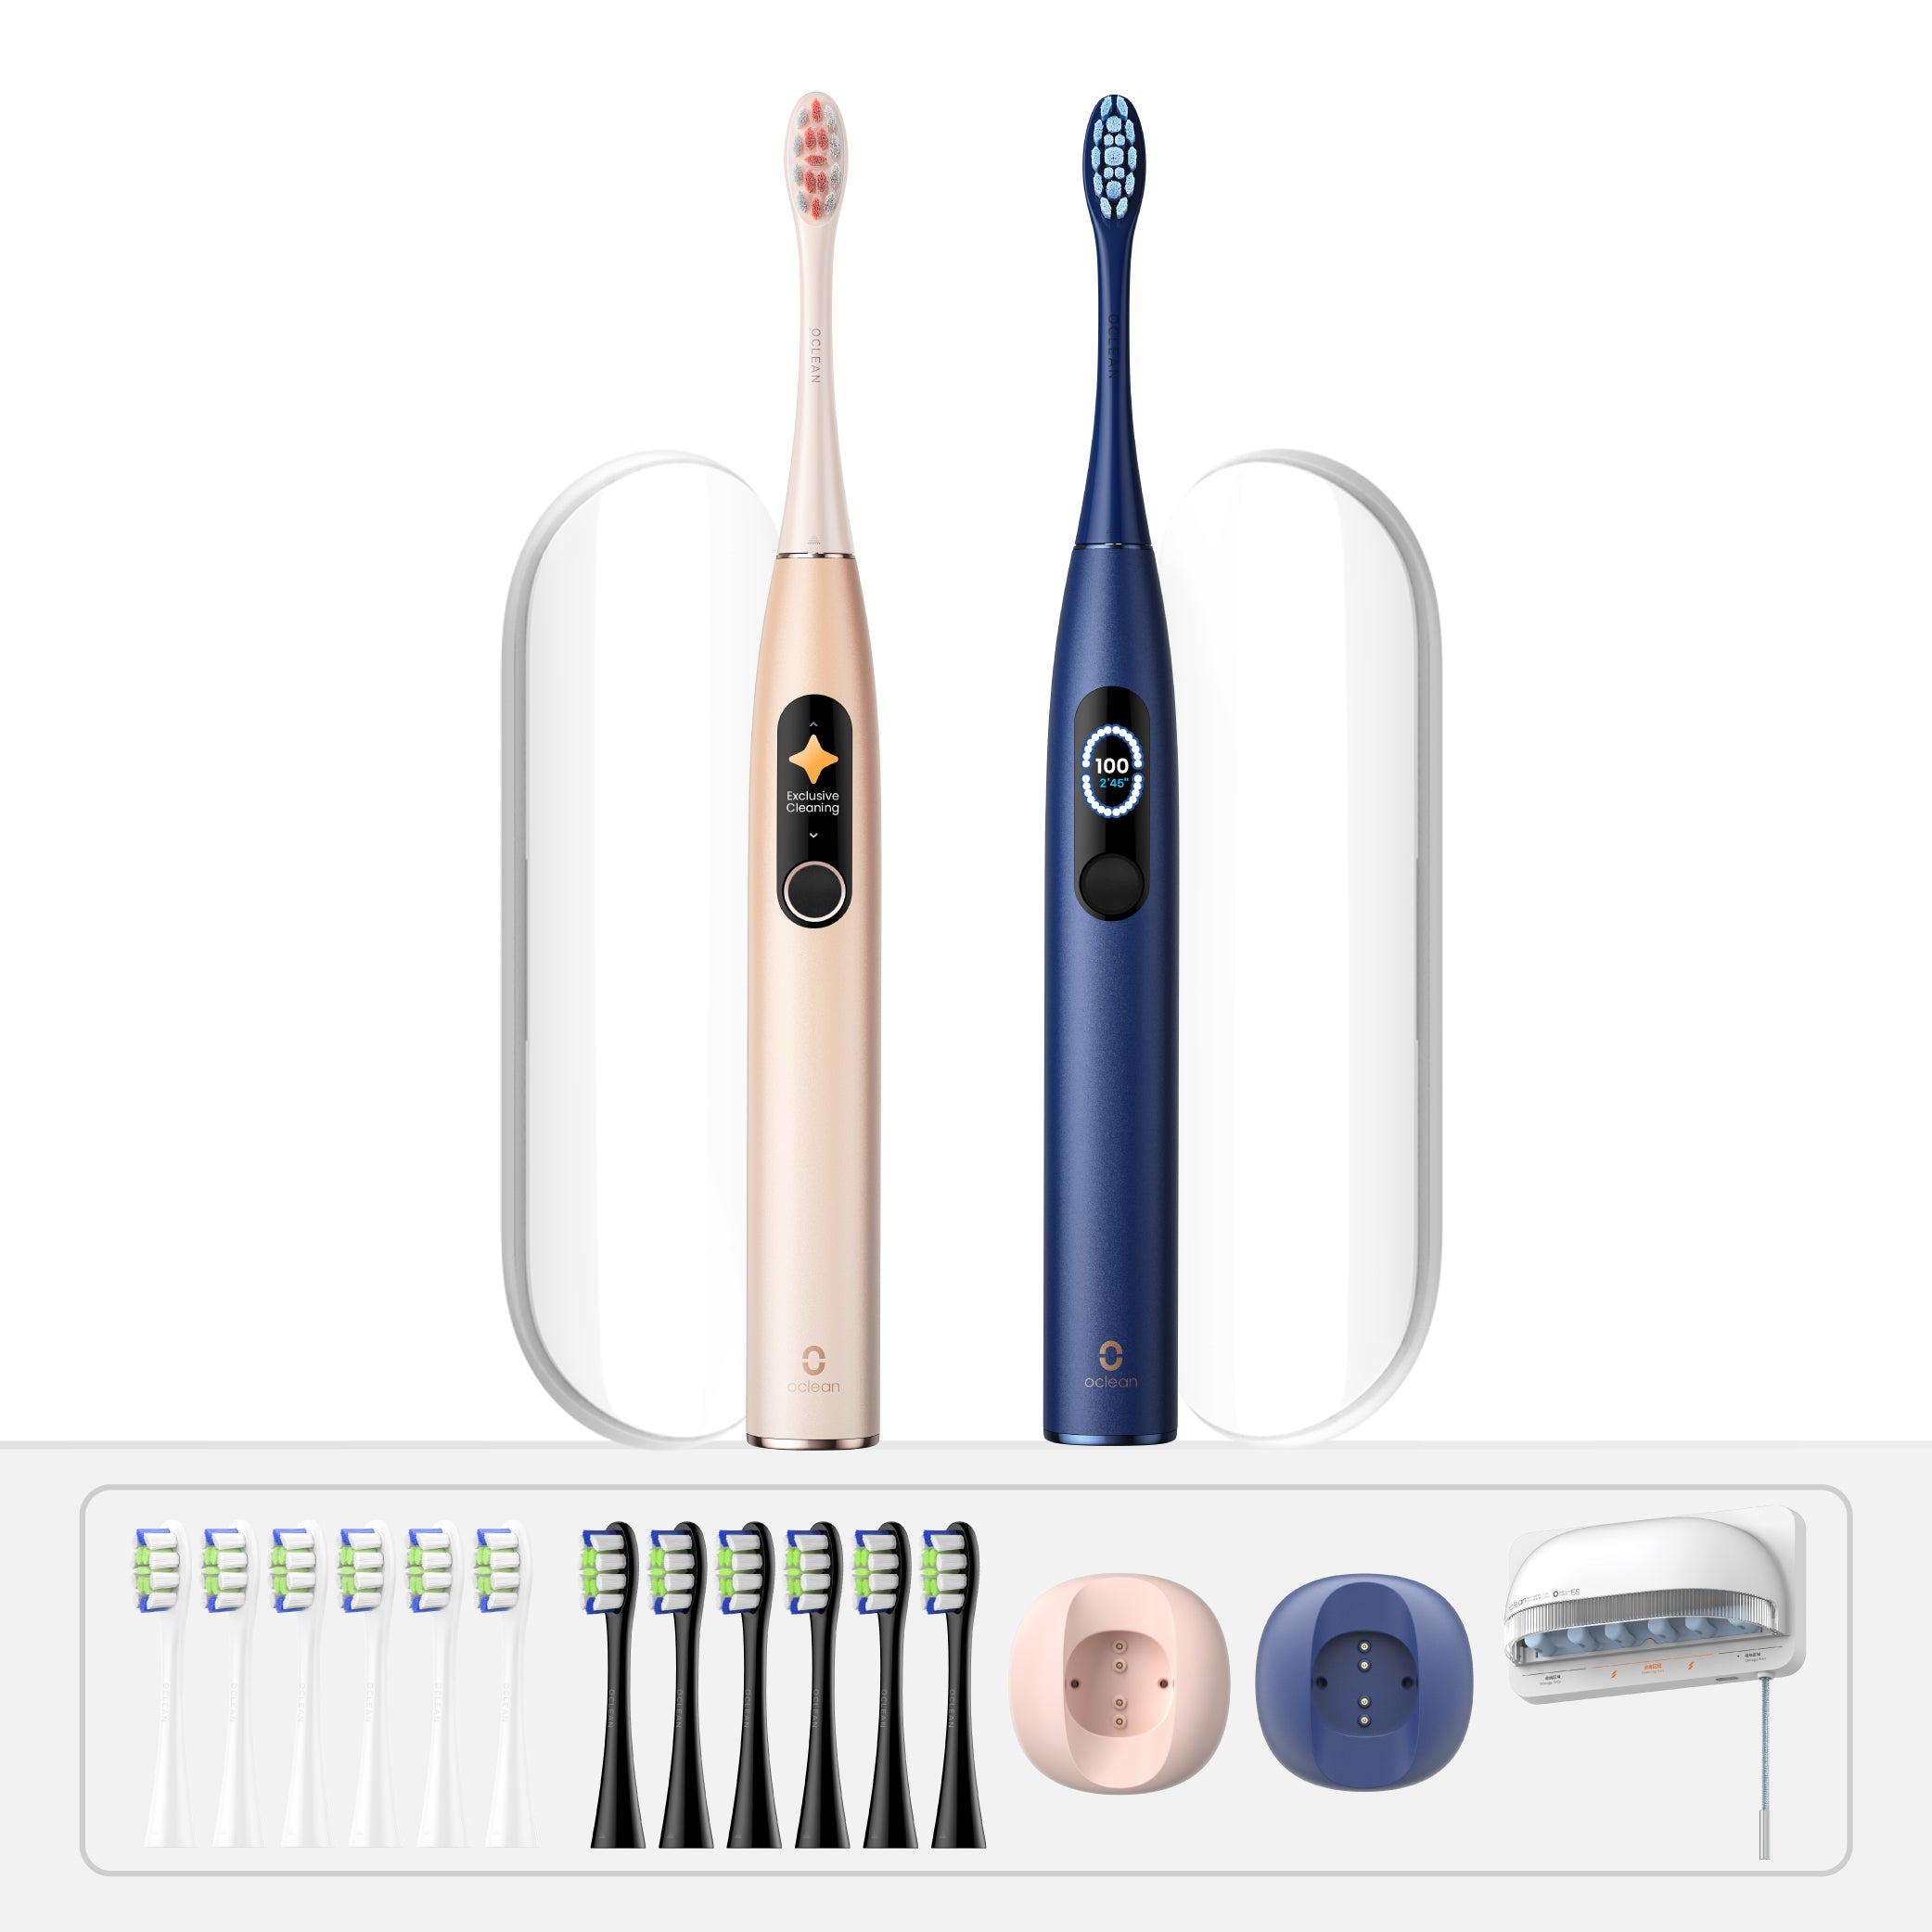
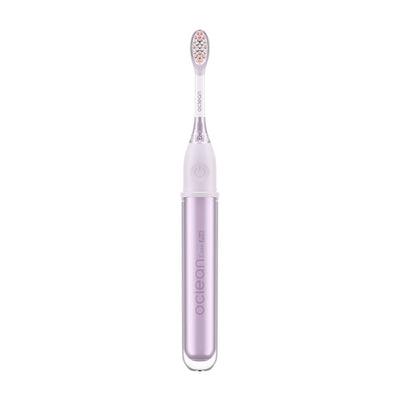
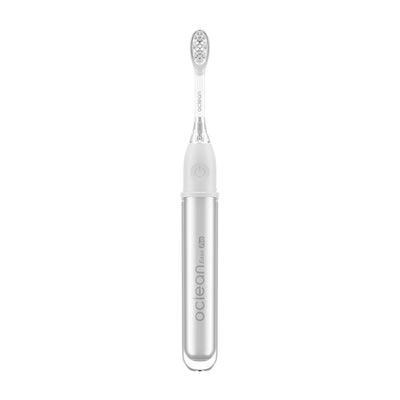
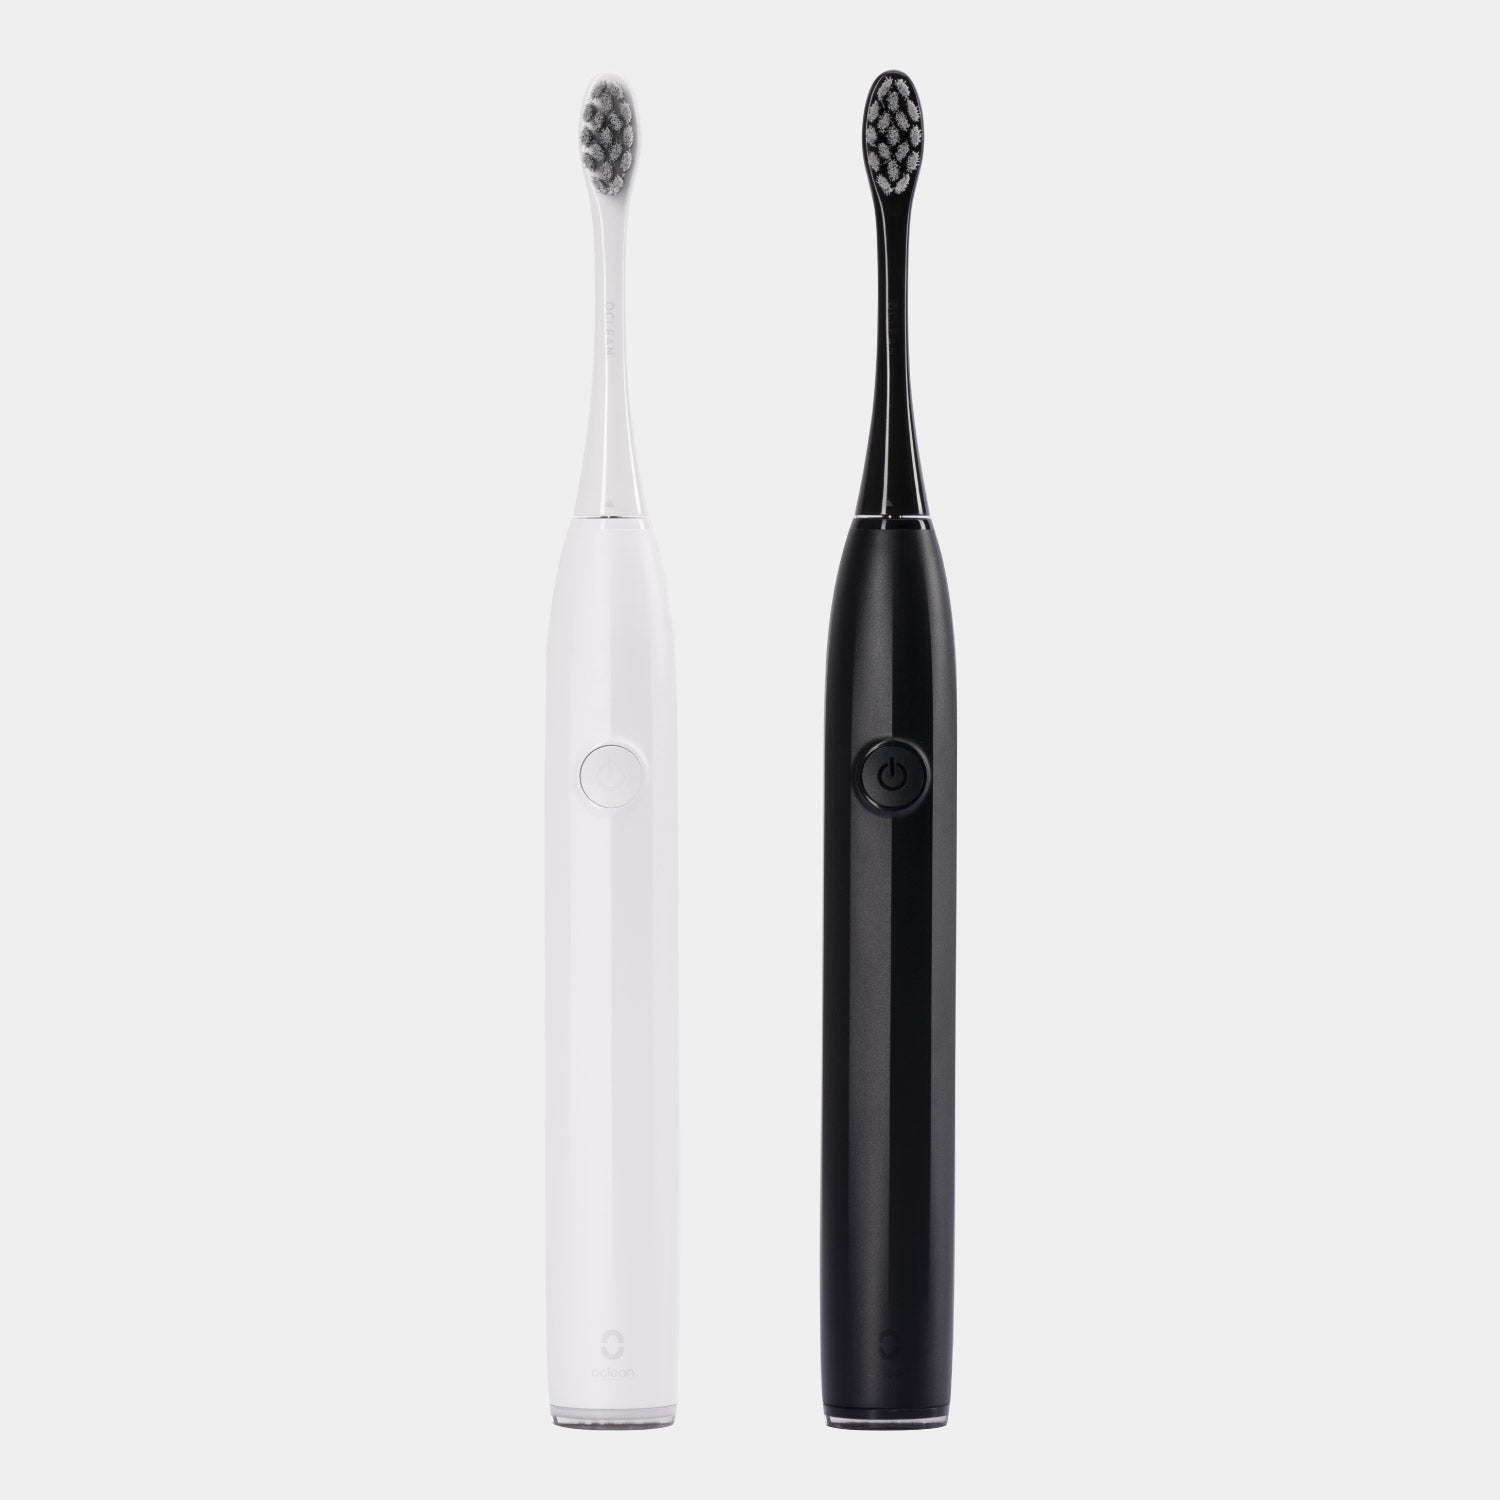
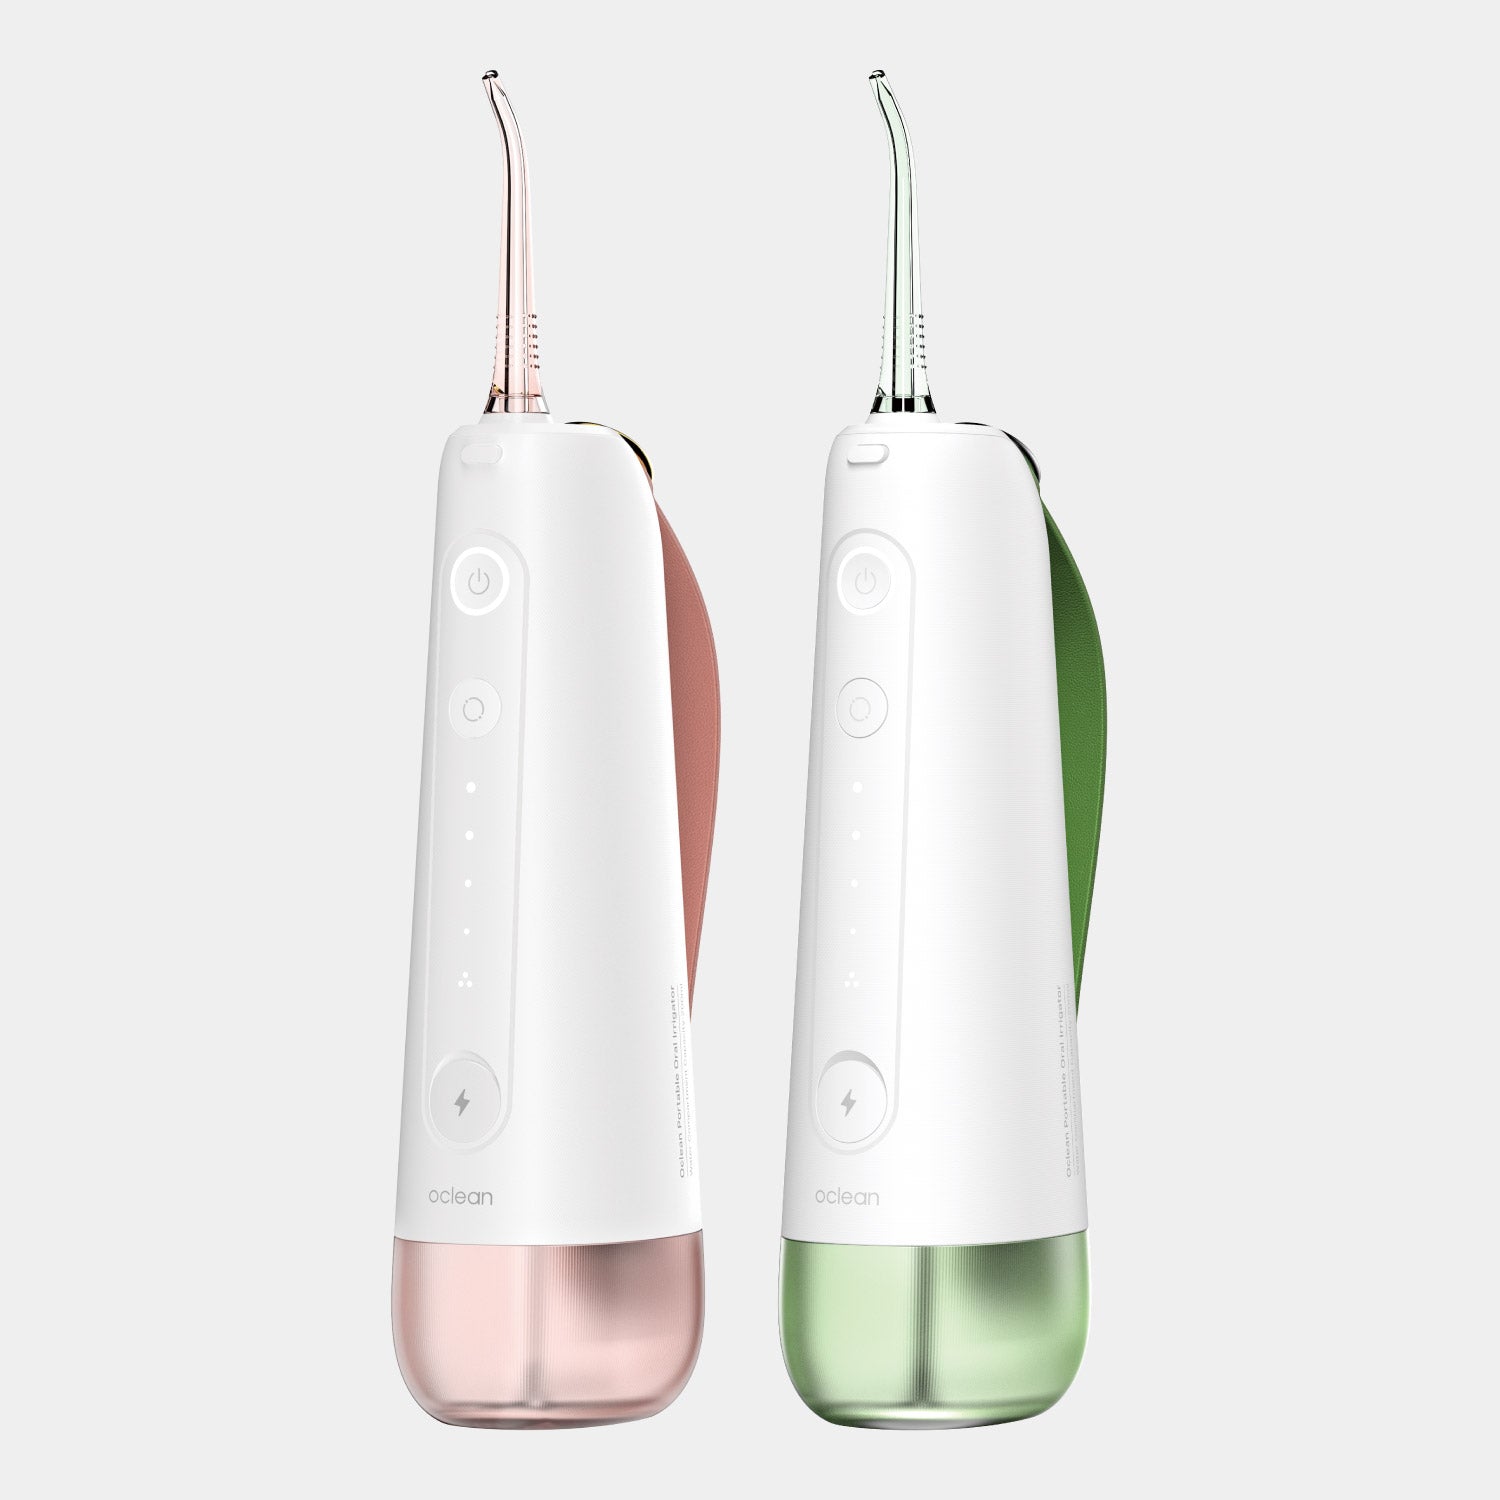
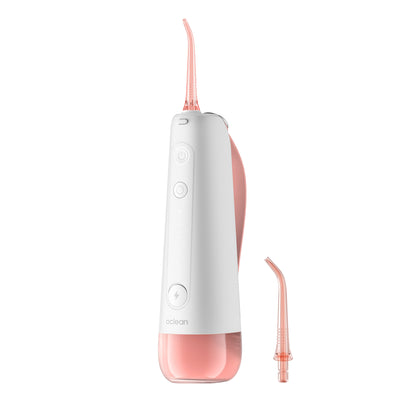
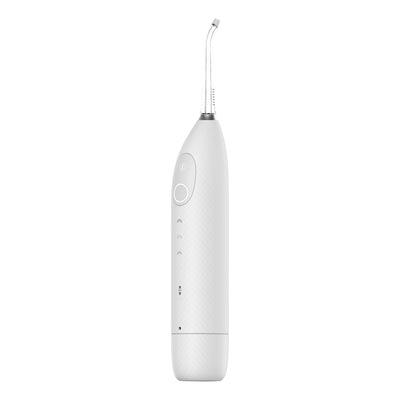
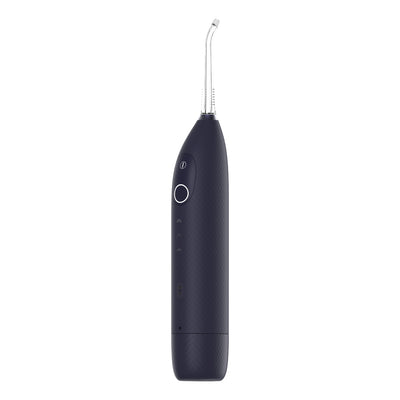
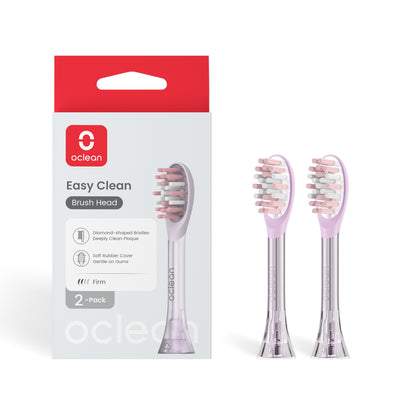
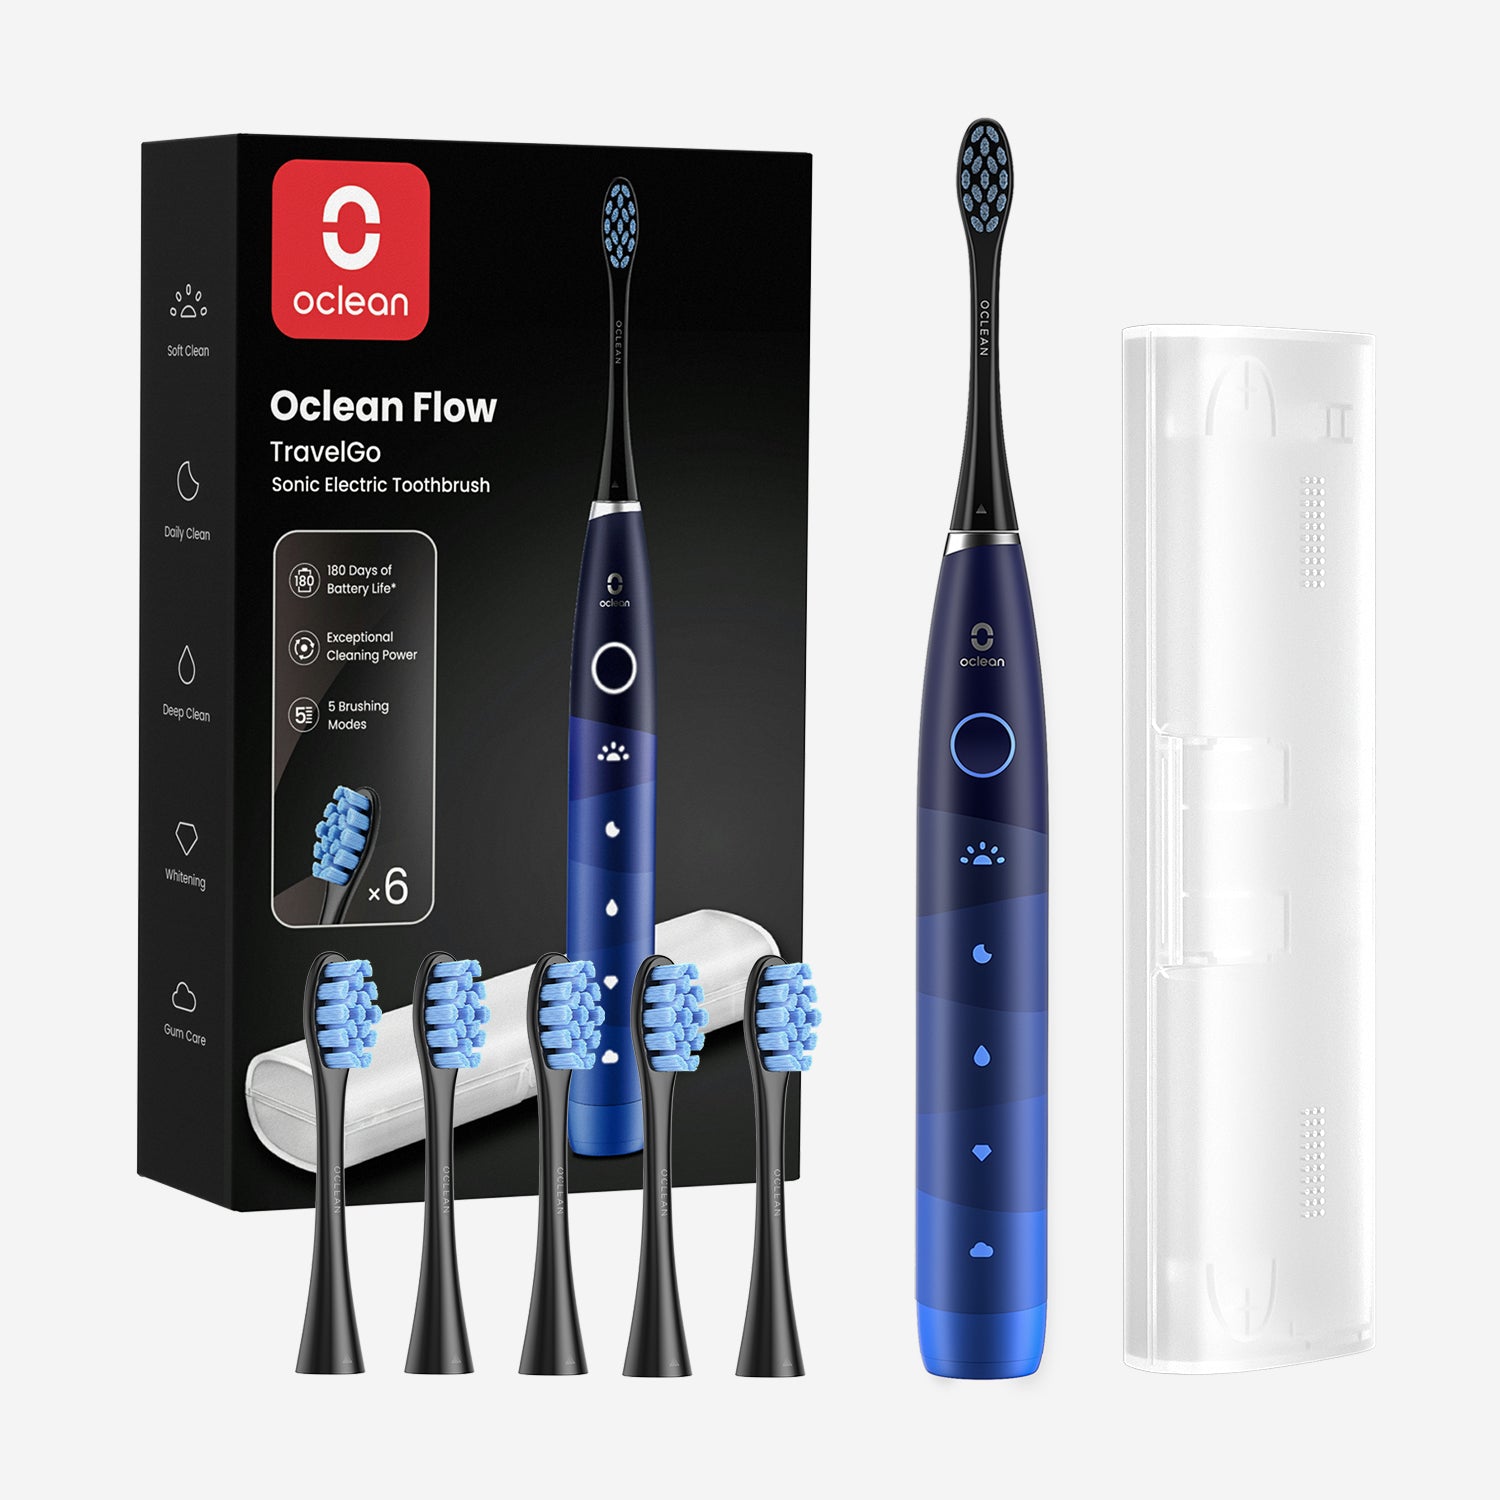
If regular flossing is tricky, particularly towards the back, water flossers may be a lifesaver. Oclean's Water Flosser Collection has various options to fit your regimen:

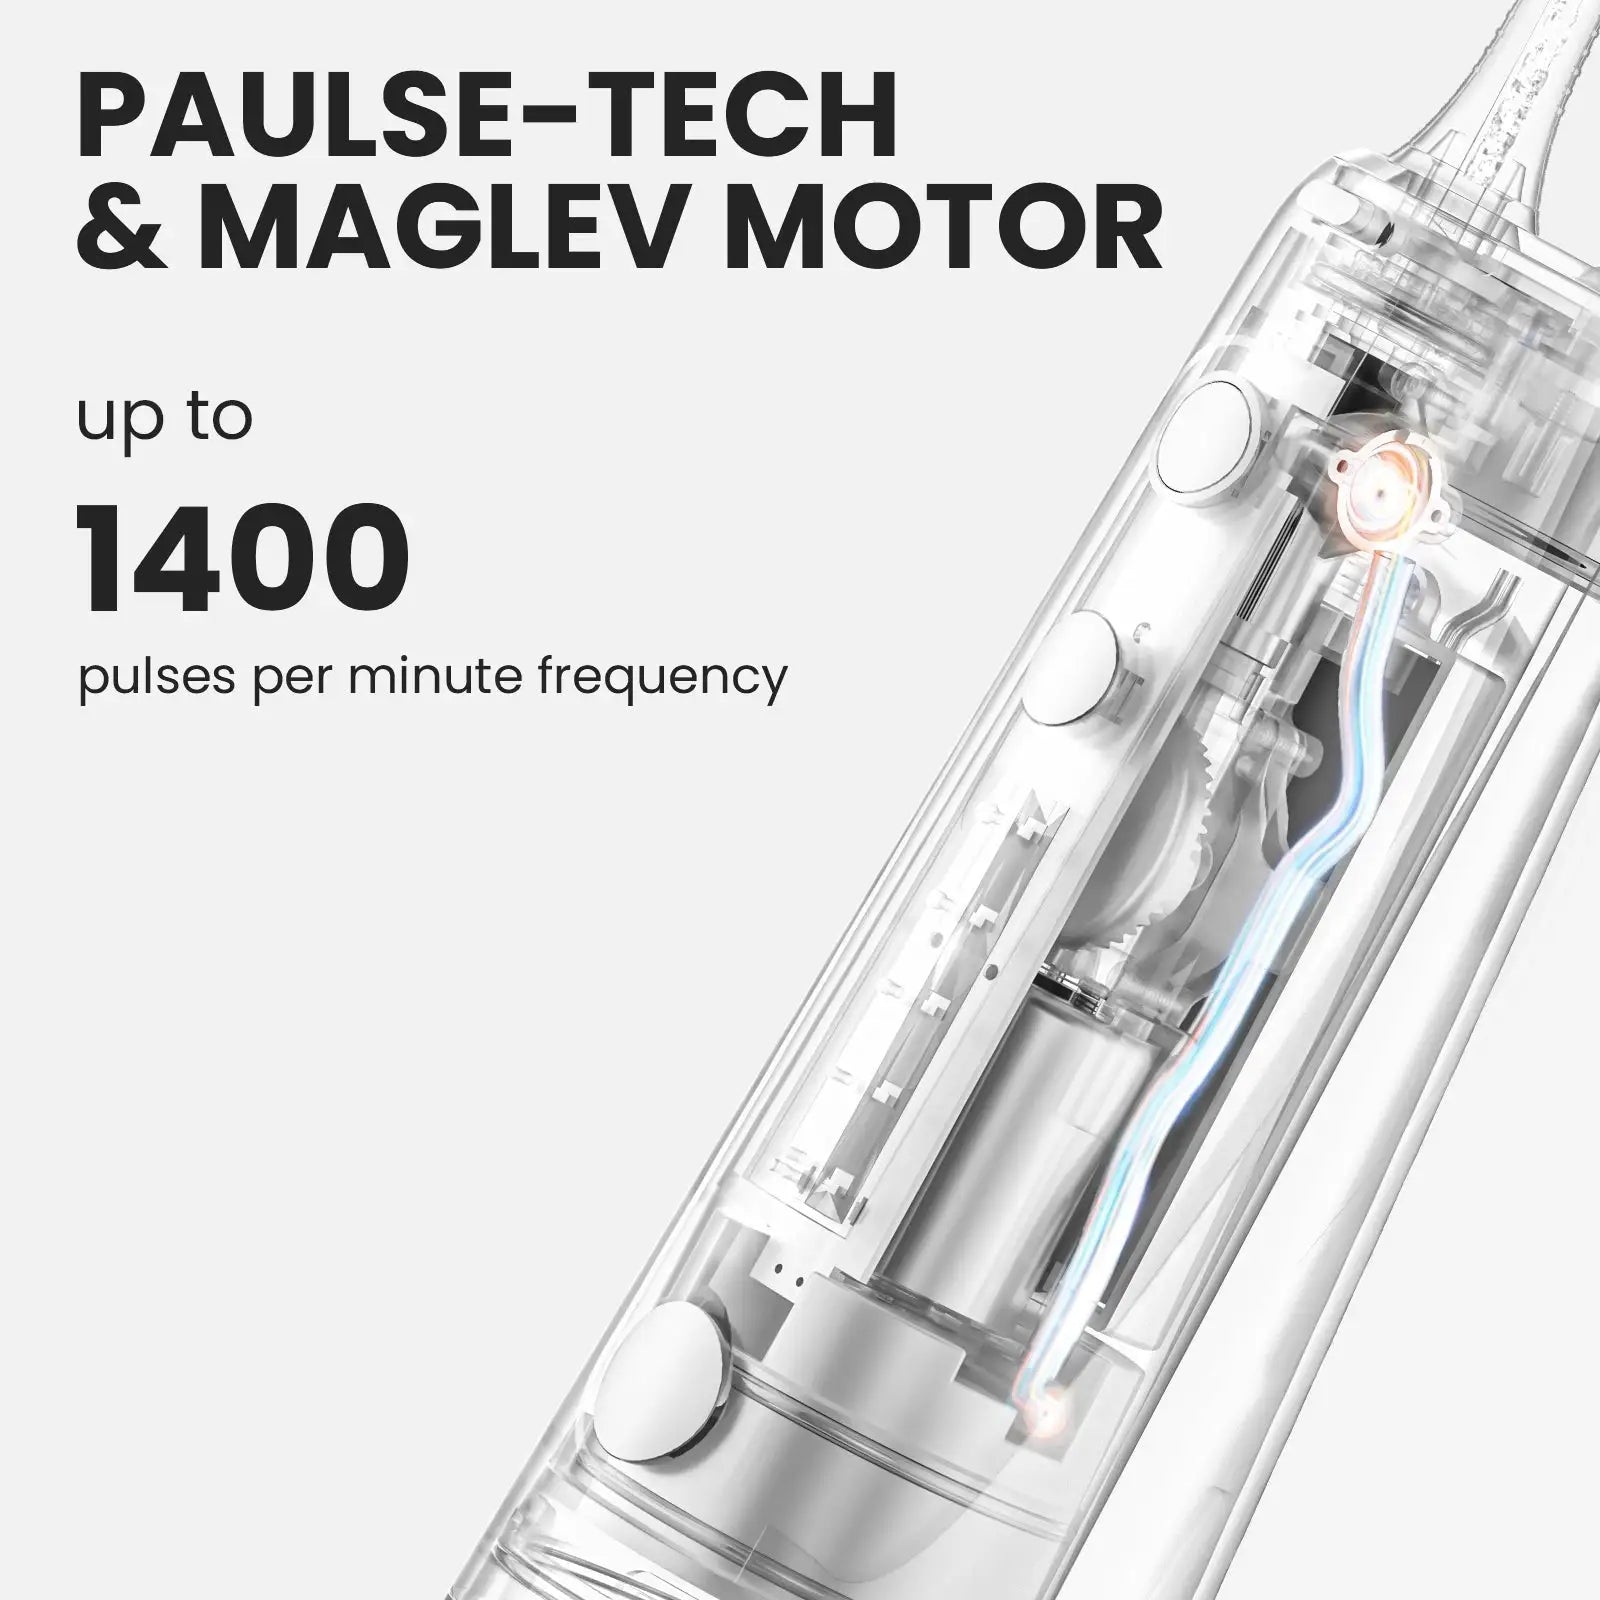
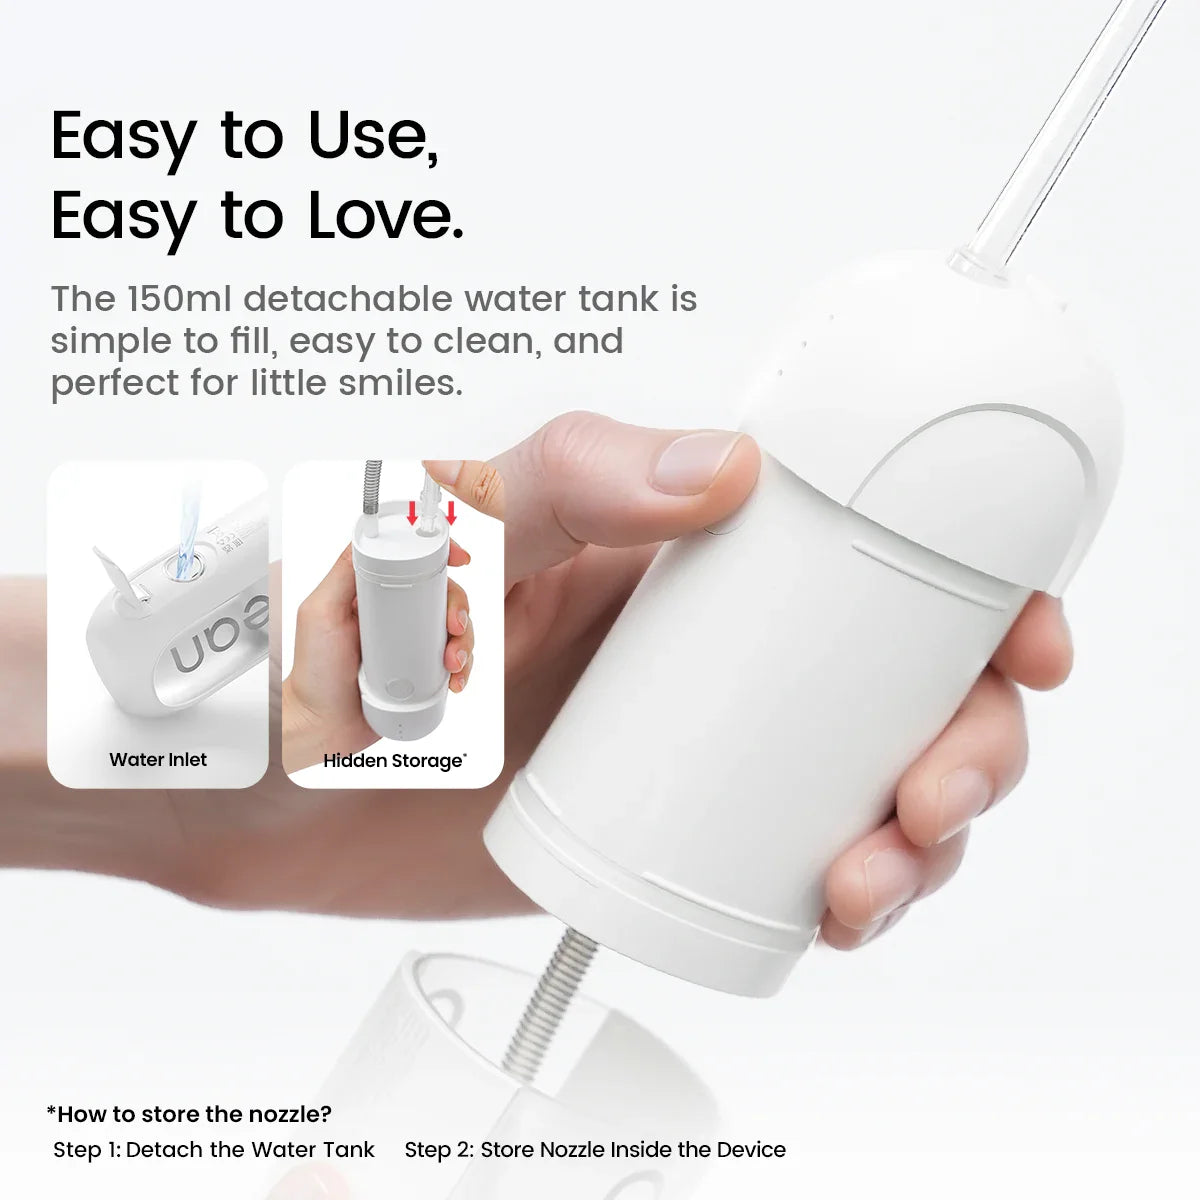
W10 Lite Water Flosser: Three modes and up to 1200 pulses per minute, with a 150ml tank that can be removed and long battery life suitable for daily use.
AirPump A10 Water Flosser: Power flossing without harshness in a palm-sized, travel-friendly form – great for short daily maintenance or traveling.
W1 Portable Dental Water Flosser: Smart, lightweight, and adjustable to 7 intensity levels, making it great for detailed cleaning and gum treatment.
How Often Should You Floss Your Back Molars?
You are advised by dentists to floss once a day, ideally before going to bed. This way, you remove all food particles and plaque that have built up throughout the day.
When to Visit a Dentist
If flossing between your molars consistently results in bleeding, pain, or you see swelling in the gums, it can be a sign of gum disease or poor technique. A hygienist or dentist will demonstrate the proper way and see whether there is something underlying that needs to be treated.
The Bottom Line
Brushing your front teeth is easy, but flossing your back molars may seem like the most difficult aspect of your oral care routine. But it's also the most critical. All it takes is the proper technique, frequency, and equipment to prevent cavities and gum infection in those tricky areas.
A healthy mouth begins at the back – so don't forget your molars.